


When the seams on a brick or stone wall begin to degrade, it is necessary to get them fixed as soon as possible! Yes, degraded joints make your house or structure seem neglected, but that isn’t the point of the haste. Deteriorating joints may prematurely age your wall’s integrity, perhaps causing it to collapse. Simply repairing the surface of the joints is insufficient. The structure may seem brand new, but, as previously said, its structural stability is jeopardized. Making sure your stonework is in good condition can save you a lot of trouble. Here, we’ve broken down everything you need to know about brick or stone repointing to guarantee your property not only looks amazing but also lasts!
When Is It Time To Repair Brick Or Stone Joints?
If the mortar joints surrounding the bricks or stones are showing symptoms of wear and tear (crumbling, cracking, etc.), you should repair them as soon as possible since any damage to the joints will only increase with time. Even more so if water penetrates the masonry or behind the wall. Any water that gets through will very certainly be subjected to several freeze-thaw cycles, resulting in the same phenomena that generate potholes on the road and bending (bulging) brick. When this occurs, sections of the wall may begin to separate from the rest of the building, putting people’s safety in danger. Putting off repairs can simply make the condition worse and raise repair expenses over time.
What Is Brick Repointing?
Repointing bricks entails removing some of the deteriorating mortar and rebuilding the joints with fresh mortar. Repointing prevents additional water penetration through the mortar and behind the brick wall, preventing mortar cracking or bulging brick and preventing the wall (or any section of it) from collapsing. After repointing, the wall looks brand new and is officially secured from any catastrophes Mother Nature may have in store.
How to Restore Worn-Out Mortar Joints?
If you want, you can fix mortar joints yourself. You should, however, be well aware of what you’re getting yourself into! Scaffolding, a ton of equipment (an electric grinder, a hammer, and chisel, a stiff brush, a trowel, a brick jointer, an electric drill with a mixer, a container for your mortar, etc.), excellent mortar mix, some expertise on how to finish the task, and a lot of patience are all probable requirements.
If your mortar has begun to decay in various parts, you will need to remove it and replace it with fresh mortar. This implies you’ll need to set aside many days only to repair one side of the structure.
Brick Repointing Steps
Safety and Planning: Before beginning this kind of project, you’ll need to prepare ahead of time, purchase the essential equipment, seek permission for an easement into your neighbor’s land if necessary, safeguard the work site, build scaffolding and wall anchors, and so on. If you begin dismantling significant sections of the brick wall, you must also consider the safety of onlookers and avoid overloading scaffolds.
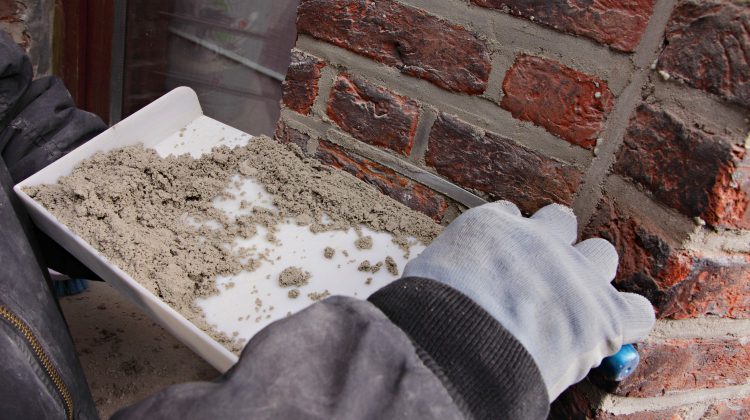
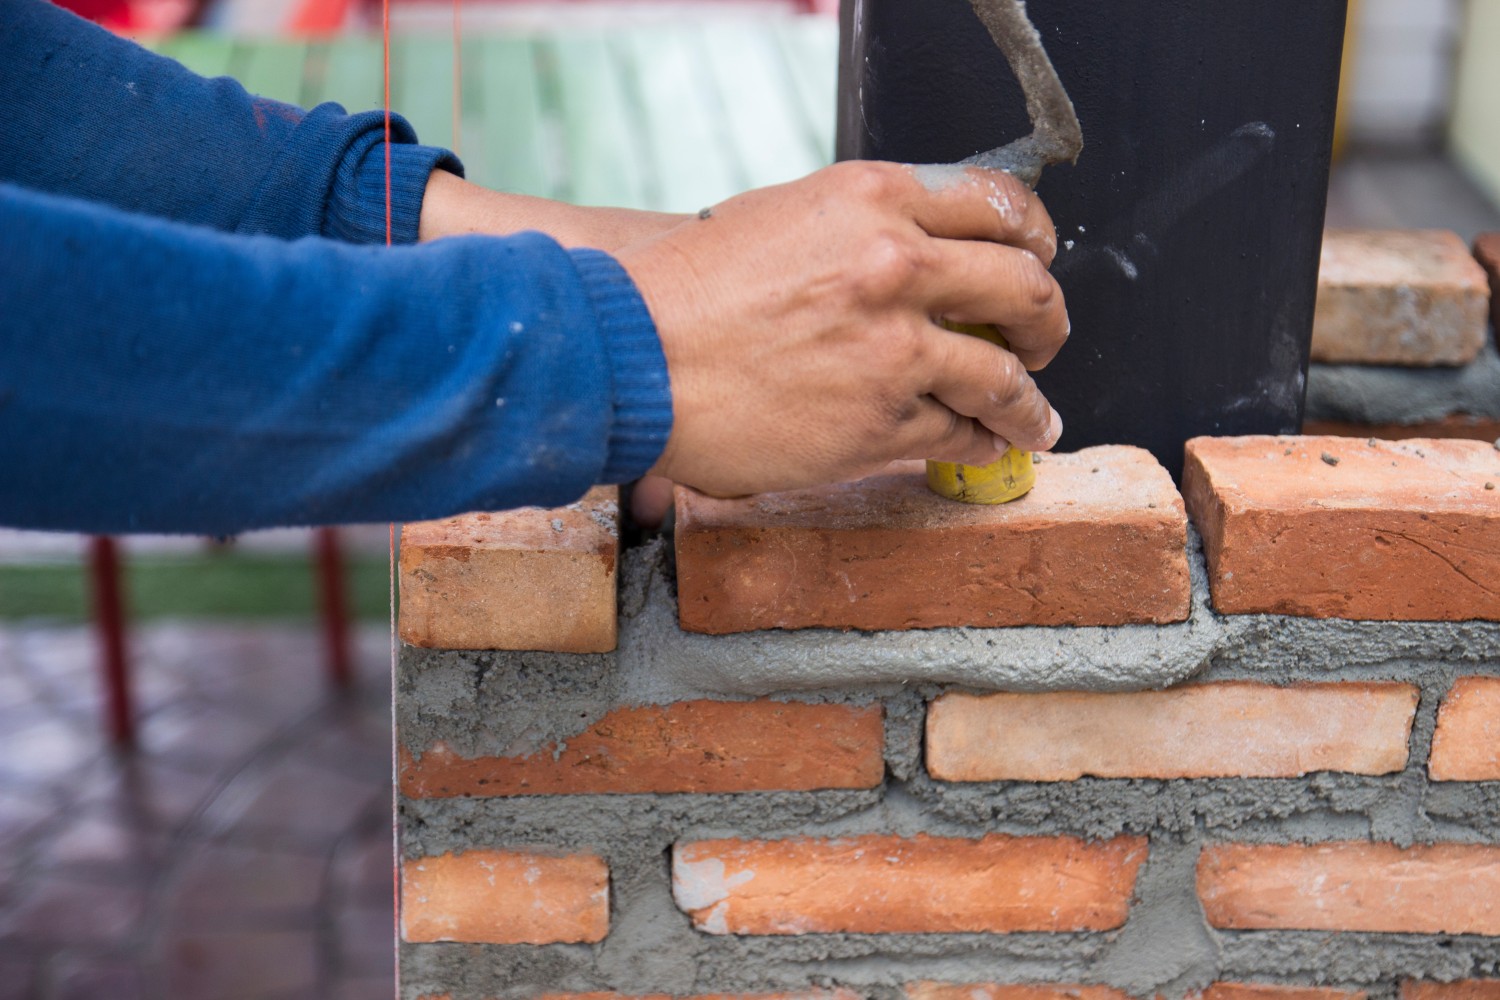
To begin, use an electric grinder and/or a hammer and chisel to remove any destroyed mortar. Before repointing any joints, the mortar joints must be scraped flat to a depth of 2 to 2.5 times the thickness of the joint, according to government agencies. The mortar from both neighboring masonry surfaces, as well as any mortar that is no longer adhering to the surface, must be removed. This effectively indicates that at least one inch of mortar (or 34″) must be removed. You’ll then choose an airtight repointing mortar recipe. If the mortar is broken at a deeper level, it is better to completely remove the brick, clean it, and replace it.
When applying mortar, moisten the brick surface to guarantee that the mortar does not lose any of its water by capillary action when it comes into touch with a dry brick surface. This will also guarantee that the mortar sticks to the surface on which it is placed appropriately. It is essential to apply adequate pressure and compress the mortar in the slits. Each application should be a thin coating, and the following layer should be put immediately after the previous layer has hardened (but is not fully dried!). The mortar’s recipe must not include any additions, such as glue.
Joint sealing: Once the application procedure is complete, the joints must be finished. You may choose whatever style you like. (concave, V-shaped, etc.). Flat joints are more brittle because they do not resist water as well.
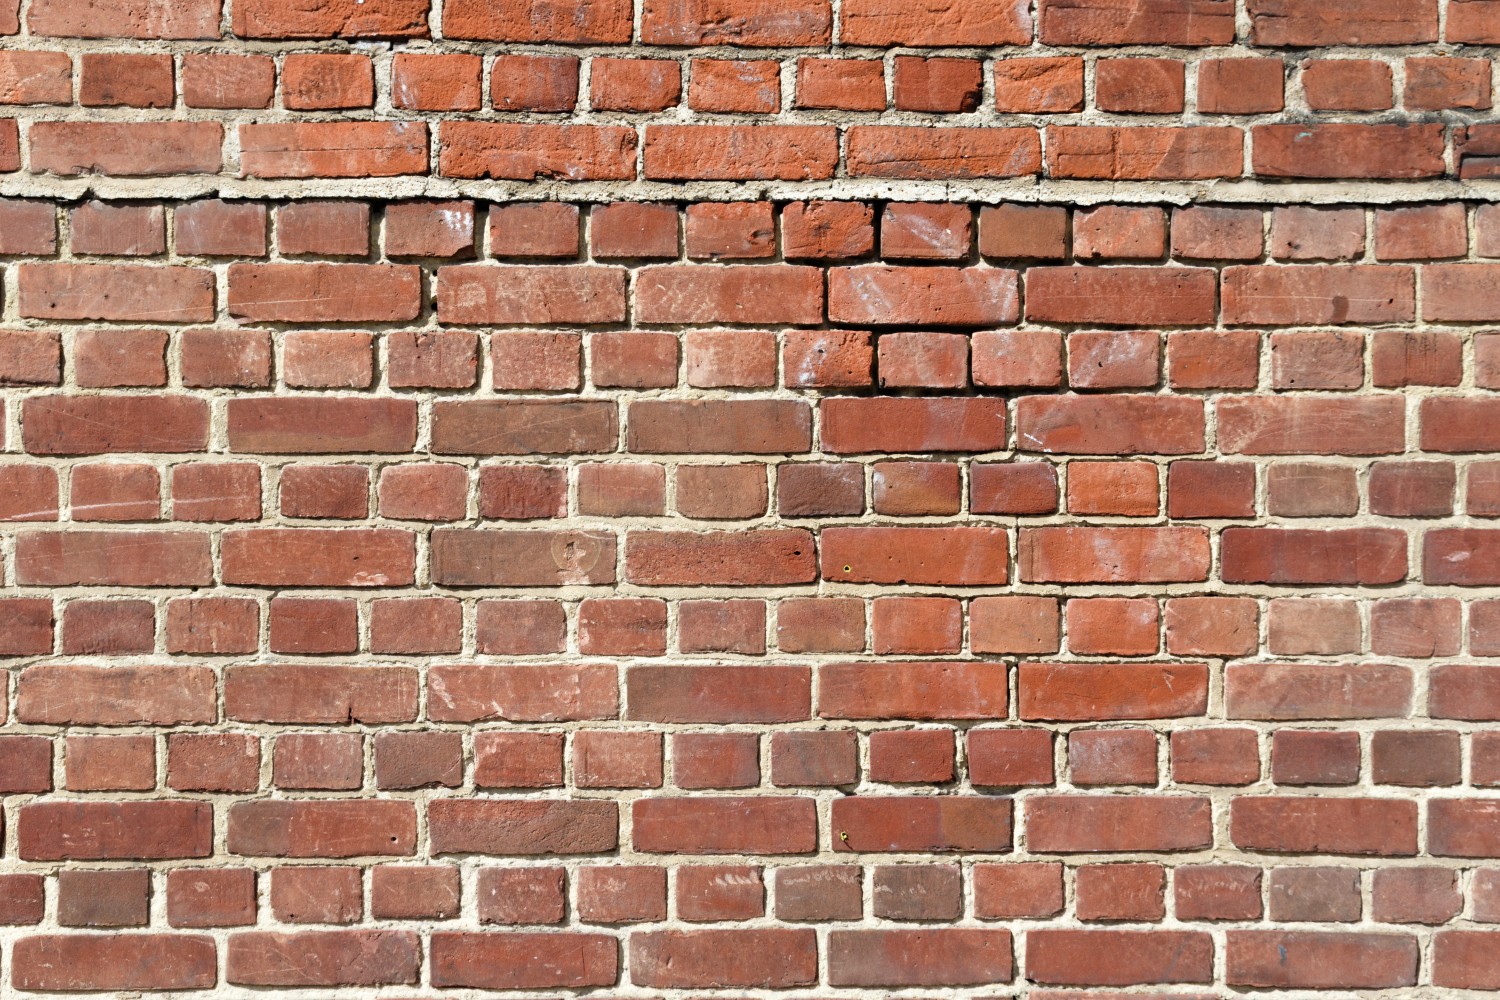
All that remains is to allow the mortar to cure and then clean it. It should take around 3 days to dry. The joints may then be cleaned for good finishing.
Can Masonry Joints Be Rebuilt At What Temperatures?
The bricks or stones that will be worked on must be warmer than 5°C and colder than 25°C 24 hours before and after the mortar is applied. Of course, it is feasible to do the job at temperatures below 5°, but you must cover the surface with a protective cloth and place heating at the foot of the portion you are working on to keep the temperature stable. As you can see, this technique is less than ideal since it requires more elaborate preparations. In any event, repointing should be avoided if rain is expected.
Beware Of Scam Artists While Repairing A Brick Wall
We often see salesmen going door-to-door advertising their masonry repair services to homeowners with crumbling mortar joints. However, in most situations, these businesses will simply undertake superficial repairs that would only last 2 to 3 years.
Restoring Historic Masonry
If your house or building is in a historic district, you’ll wish to maintain the structure’s architectural legacy. You want to maintain it distinctively and boost its resale value while retaining its original structure. Some masonry businesses specialize in the restoration of historic homes.
Masons are often required to collaborate with other experts, most notable architects, and engineers while working on major projects. We would happily assist you in assembling a skilled team for a successful historical restoration.
A significant amount of mortar will require to be ditched for long-lasting fixes. According to the state of your wall, it may be preferred to get out each brick, clean it, and replace it. In any situation, you’ll be providing your brick or stone wall a new lease of life.
For excellent brick repointing contact VILLA Masonry Contractors.